Setting up a new printer can be daunting, especially if you’re not tech-savvy. But fear not! Brother printers have a quick setup guide that will make the process a breeze. This guide will provide step-by-step instructions to help you get your printer up and running in no time.
No need to stress over complicated instructions or technical jargon – we’ve got you covered. With this guide, you’ll be able to connect your printer to your computer or Wi-Fi network and start printing effortlessly. So, let’s dive in and make this setup process a breeze!
Unboxing and Assembling Printer
If you’ve just ordered a Brother printer and are looking for a quick setup guide, you’ve come to the right place! First things first, unbox your new printer and remove all the packaging material. Make sure to keep all the cords, manuals, and software CDs that came with your printer in a safe place. Once you’ve set up your printer in its designated location and plugged it in, turn it on and follow the on-screen prompts.
The printer will guide you through the process of installing the ink cartridges, setting up the Wi-Fi, and connecting it to your computer or mobile device. If you’ve never set up a printer before, don’t worry, Brother printers come with user-friendly software that makes the process simple and straightforward. In no time at all, you’ll be able to print high-quality documents and photos from the comfort of your own home or office.
So, what are you waiting for? Start unboxing and assembling your new printer today!
Connect to Power and Wi-Fi
When unboxing and assembling your new printer, it’s essential to connect it to power and Wi-Fi. Ensure that you have all the necessary cables and power adaptors before starting the process. Most printers come with a power cable that needs to be inserted into the printer’s power slot and then plugged into an electrical outlet.
Once your printer is plugged in, turn it on and wait for it to initialize completely. Next, locate the printer’s Wi-Fi settings and connect it to your home or office Wi-Fi network. This step usually requires the printer to search for available Wi-Fi networks, and once it has connected, you will be prompted to enter the password for your Wi-Fi network.
Once connected, test print a document to ensure that the printer is functioning and connected to the Wi-Fi network. By following these simple steps, you can connect your printer to power and Wi-Fi hassle-free, allowing you to enjoy your new printing experience.
Download and Install Drivers
If you have just unboxed and assembled your printer, the next step is to download and install the necessary drivers. The software that comes with your printer can be outdated, so it’s important to ensure that you have the latest drivers installed to maximize your printing experience. To begin, locate the printer’s model number and visit the manufacturer’s website.
Look for the “Support” or “Downloads” section and select your specific model. Download the driver that is compatible with your operating system and follow the installation instructions provided. It’s crucial to ensure that the installation process is completed correctly for the printer to function properly.
By installing the latest drivers, you’ll be able to take full advantage of all the features your printer has to offer and enjoy high-quality prints with ease.
Printer Settings
If you’re looking for a quick setup guide for your Brother printer, the first thing you need to do is adjust your printer settings to ensure optimal performance. One of the most important settings you’ll want to adjust is your print quality. Depending on the type of documents you’ll be printing, you may want to adjust your print quality to either draft, normal, or high.
Draft quality will produce prints quickly and use less ink, while normal quality will provide a balance between speed and quality. High quality will take longer to print but will produce the highest level of sharpness and detail. Another important setting you’ll want to adjust is your page orientation.
This setting will determine whether your documents print in portrait or landscape mode. Portrait mode is best for documents with fewer columns or rows of text, while landscape mode is better for documents with a larger amount of data. By adjusting these settings, you can ensure that your Brother printer produces excellent prints without wasting time or ink.
Paper Size and Type
When it comes to printing, it’s important to know how to adjust your printer settings to get the best results. One aspect of printing that often gets overlooked is paper size and type. Different printers may have different maximum paper sizes, so it’s important to check your printer’s specifications before selecting a paper size.
Additionally, choosing the right paper type can greatly affect the overall quality of your print. Glossy paper, for example, will produce a more vibrant and detailed image, while matte paper may be better suited for text-heavy documents. Don’t forget to adjust your printer settings accordingly to ensure that your document or image is properly aligned on the page.
By taking the time to understand paper size and type, you can ensure that your prints look their best every time.
Ink and Toner Configuration
If you’re experiencing issues with your printer’s ink or toner, it might be time to check your printer settings. Every printer comes with different settings that can be adjusted based on your specific needs. Whether you’re trying to save ink or get the best quality prints possible, understanding your printer’s settings can be incredibly helpful in achieving your goals.
One common ink-saving setting is “draft mode,” which prints quickly but with a lower quality finish. On the other hand, “best quality” mode will use more ink but result in a sharper and more vibrant print. Another important setting is “toner darkness,” which affects how dark your prints come out.
If your prints are looking too light, consider increasing the toner darkness. Taking the time to understand and adjust your printer settings can help you get the most out of your ink or toner and keep your printing costs under control.
Print Quality Options
When printing documents, the print quality options can be a bit overwhelming, especially for beginners. Printer settings usually include options for paper size, orientation, color mode, and print quality. The print quality option is particularly important, as it determines the level of detail and sharpness of the printed document.
Higher print quality settings generally produce better-looking prints but can take longer to complete and use more ink or toner. On the other hand, lower print quality settings can save time and ink or toner but may result in a less sharp and detailed print. When in doubt, it’s always best to choose the highest quality option suitable for the printing task at hand.
And if you’re looking to save on ink or toner, consider using draft or eco mode, which sacrifices some print quality for ink or toner savings. Ultimately, it’s essential to experiment with different print quality settings to find the best balance between quality and efficiency for your printing needs.
Troubleshooting Tips
If you’re having trouble setting up your Brother printer, don’t worry – it happens to the best of us. Here are some troubleshooting tips that can help you get the job done. First, make sure that your printer is properly plugged in and turned on.
If you’re having trouble connecting to your printer wirelessly, try rebooting both your printer and your wireless router. Additionally, if you’re having trouble with print quality, try cleaning the print heads or replacing the ink cartridges. Finally, if you’re still not able to get your printer working, consult the user manual or contact Brother customer support for further assistance.
By following these tips, you should be able to set up your Brother printer quickly and easily.
Connection Issues
If you’ve ever had connection issues with your internet or wireless devices, you know how frustrating it can be. Thankfully, most connection issues can be resolved with a bit of troubleshooting. Firstly, check that your device is connected to the right network.
It’s easy to accidentally connect to a neighbor’s or public Wi-Fi without realizing it. Secondly, ensure that your device’s software and drivers are up-to-date. Outdated software can cause connection problems.
Another common issue is interference from other devices. Try moving your device closer to the router or away from other electronics that may be causing interference. Lastly, restart your device or router.
Sometimes a simple reboot can fix the issue. By following these tips, you should be able to resolve most connection issues and get back online quickly.
Paper Jam Fixes
Paper jams can be a frustrating and time-consuming problem when using a printer. However, there are a few troubleshooting tips you can try to fix the problem. First, try opening the printer and removing any visible paper.
Make sure to use caution when pulling out the paper, so as not to rip or tear it and cause further complications. Next, check to make sure there isn’t any debris or small pieces of paper stuck inside the printer. If you still can’t find the cause, try restarting the printer and the computer to see if that resolves the issue.
It’s also a good idea to check the printer settings and ensure they’re correctly configured for the type of paper being used. By following these steps, you can potentially resolve the paper jam and get back to printing with ease.
Final Thoughts and Resources
Overall, setting up your Brother printer can be a quick and easy process if you follow the proper steps. While it may seem overwhelming at first, there are plenty of resources available to help you along the way. From the user manual that came with your printer to online resources like blogs, forums, and tutorial videos, you can find the information you need to get your printer up and running in no time.
One important tip to keep in mind is to make sure to carefully read and follow all instructions, as even one missed step can cause issues. By taking the time to set up your printer correctly, you can ensure that it will work efficiently and effectively for all your printing needs. Remember, if you ever have any questions or concerns along the way, don’t hesitate to reach out for help.
With a little patience and perseverance, you’ll be enjoying all the benefits of your Brother printer in no time!
Conclusion
And there you have it, folks! With these easy steps, you can now harness the power of your Brother printer in no time. No need to stress over complicated setups, just follow the guide and voila! You’ll be printing stunning documents and photos in a flash. Now go forth and print to your heart’s content! Brother printers, making printing easier than pronouncing “supercalifragilisticexpialidocious” since day one.
FAQs
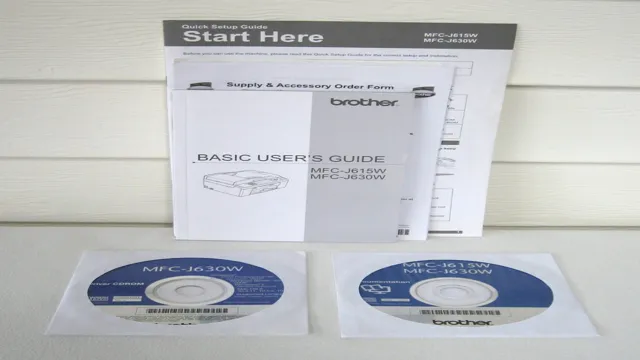
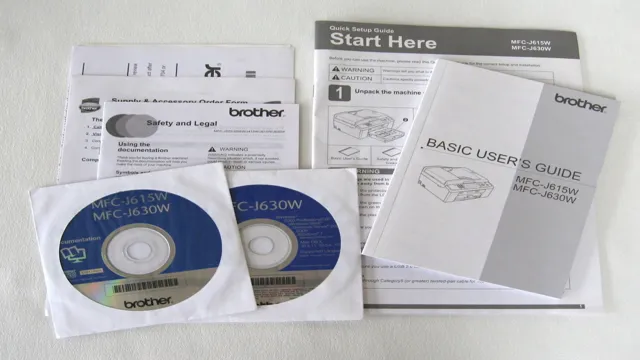
What is included in the quick setup guide for Brother printer?
The quick setup guide for Brother printer typically includes information about unpacking the printer, connecting it to a power source, loading paper and cartridges, and installing the necessary drivers and software.
Can I set up my Brother printer without the quick setup guide?
Yes, you can set up your Brother printer without the quick setup guide. The guide is provided to make the process easier and faster, but you can also follow the instructions in the user manual or the manufacturer’s website.
Does the quick setup guide have troubleshooting tips for Brother printer?
The quick setup guide may have some basic troubleshooting tips for common issues, but for more complex problems, you should refer to the user manual or contact Brother customer support.
Where can I find a digital copy of the quick setup guide for my Brother printer?
You can find a digital copy of the quick setup guide for your Brother printer on the manufacturer’s website. Simply go to the support section, enter your printer model number, and look for the documentation or download section.